Close


Shade sails are a type of canopy, usually in the shape of a rectangle or triangle. They use a flexible fabric tensioned across anchor points (support poles and/or existing structures like a building, house, or roof). They get their name from their resemblance to a ship sail. They can also be called shade structures or hip structures.
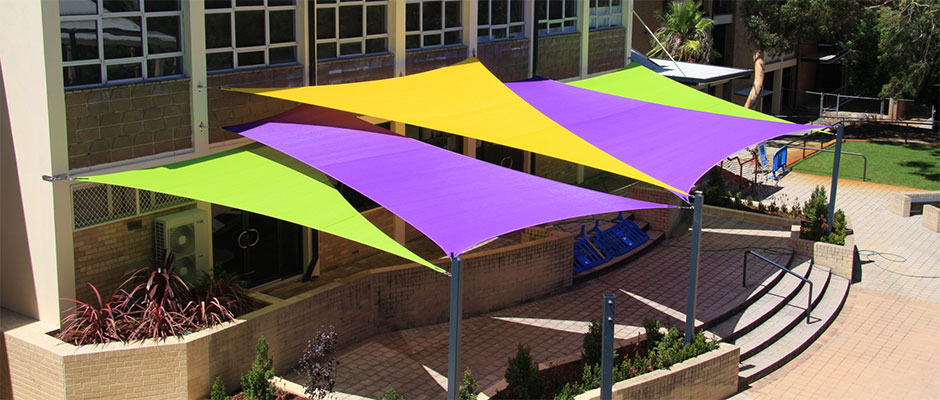
Shade sails are rapidly rising in popularity for their range of benefits. They can cover large areas at a fraction of the time and cost as other canopy structures. They're especially effective in shading outdoor areas with greater sun exposure. Shade sails are great for playgrounds, pools, patios and decks, seating areas, courtyards, gardens, and anywhere else a canopy is needed. Many fabricators, business owners, and homeowners prefer them for their streamlined, stylish look. So, do sun shade sails work? When installed properly, yes, they can offer effective, lasting protection from the sun.
The demand for shade is increasing. Many community playgrounds are now requiring shade structures to protect children from the sun. Homeowners need a cost-effective way to keep their pools from overheating. Backyard patio areas can be transformed into outdoor rooms with the addition of shade.
All of these applications have one thing in common: they are large spaces that can all be protected with shade sails (also called sun sails). Sun sails provide protection from harmful UV rays. These sun shade sail canopies work great as pergola and outdoor patio shades. This makes them perfect for outdoor shade in outdoor living and party spaces.
Shade sails offer a multitude of benefits that make them an attractive choice for a variety of applications. Whether you're looking to enhance your outdoor living space or provide shade for a commercial setting, shade sails deliver exceptional advantages:
Strategically positioned shade sails can significantly reduce indoor cooling costs by blocking direct sunlight. This prevents excess heat from entering through windows and doors. Homeowners can see noticeable savings on energy bills after adding shade sails.
Shade sails provide reliable protection against harmful UV rays, reducing the risk of painful sunburns and long-term skin damage. Families can enjoy the outdoors without worrying about excessive sun exposure.
The addition of shade sails transforms outdoor areas into inviting, shaded oases perfect for seating, dining and play zones. Parts of a yard or courtyard once too hot and sunny become ideal for relaxation and recreation.
With a sleek, modern look, shade sails add visual elegance to any environment. Their geometric shapes and array of color options allow homeowners and businesses to match their unique style.
Shade sails work well in diverse settings like backyards, parks, schools, restaurants, and more. Their flexible design makes them a versatile shading solution for both residential and commercial uses.
Compared to permanent structures, shade sails can be installed swiftly and cost-effectively. This makes them an efficient choice when time and money need to be considered.
Choosing shade sails over energy-intensive alternatives like air conditioning can contribute to a more eco-friendly lifestyle, reducing your carbon footprint.
With few exceptions, most conventional awning fabricators already have everything they need in their shop to build an industrial shade sail. A large open floor space for layout and a heavy-duty sewing machine are the basic tools needed for building a shade sail.
When it comes to installing the poles and attachment points, the fabricator should consider engaging a local contractor that has all of the necessary equipment to dig footings, install cement, etc.
Due to the large sizes and odd shapes involved in most shade sails, many fabricators use a shade sail design software. Trivantage® has teamed up with Meliar Design to create an interface between Awning Composer® and MPanel Shade Designer that allows fabricators to visualize shade sails.
The Shade Designer software uses basic dimensions like length, width, and pole height to create a three-dimensional object. The object can then be exported and superimposed over a site picture in Awning Composer. You can choose from different fabric options, colors, and poles to aid in the final design decision.
Once the customer approves the rendering, the MPanel software can be used to calculate the compound curves for the shade sail. Some shops run these dimensions into a cutter and create kraft paper patterns that they tape to the floor to use during the layout process. Other shops just use a dimensions report from the MPanel software and mark a pattern on the floor with tape.
Cutting the fabric panels on an automated cutter is not very practical since the width of most shade cloth exceeds the width of the average cutter. The fabric is also very slippery and because it is mesh, it does not lend itself to being held down by air vacuum systems on most cutters.
All shade sail footings and attachment points must be designed by a certified engineer that has experience in calculating shade sail loads. Due to their large size, these sails can develop large point loads on each of the connection points.
When applying for a permit to install a shade sail, building inspectors will want to see the calculations that went into determining these loads and how the poles, footings, and connecting hardware will deal with these loads.
Engineers often use specialized software for these calculations. Stamped, engineered drawings for each shade sail job are the minimum that each fabricator should start with before building.
There are many decisions that the fabricator must make when building a shade sail and most of these decisions revolve around how to reinforce the shade sail so it spreads out the loading forces. While there is no magic solution to this design problem, experience helps a great deal.
| Sail Size | Patch 1 | Patch 2 | Patch 3 |
|---|---|---|---|
| 20' x 20' x 20' | 3' | 2' | 1' |
| 40' x 40' x 40' | 6' | 4' | 2' |
| 60' x 60' x 60' | 10' | 6' | 3' |
In all cases, the size of the support poles should be calculated by an engineer. They'll know best how to install a shade sail support post.
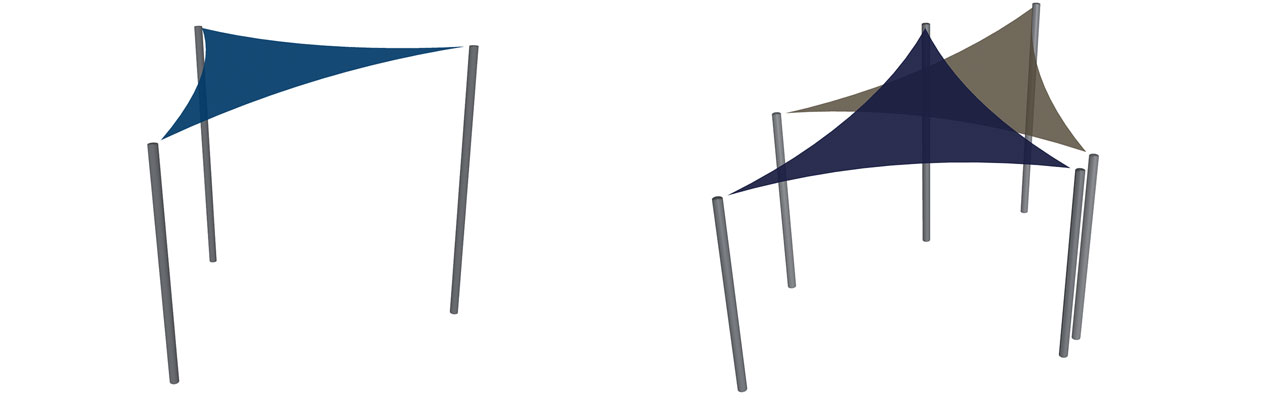
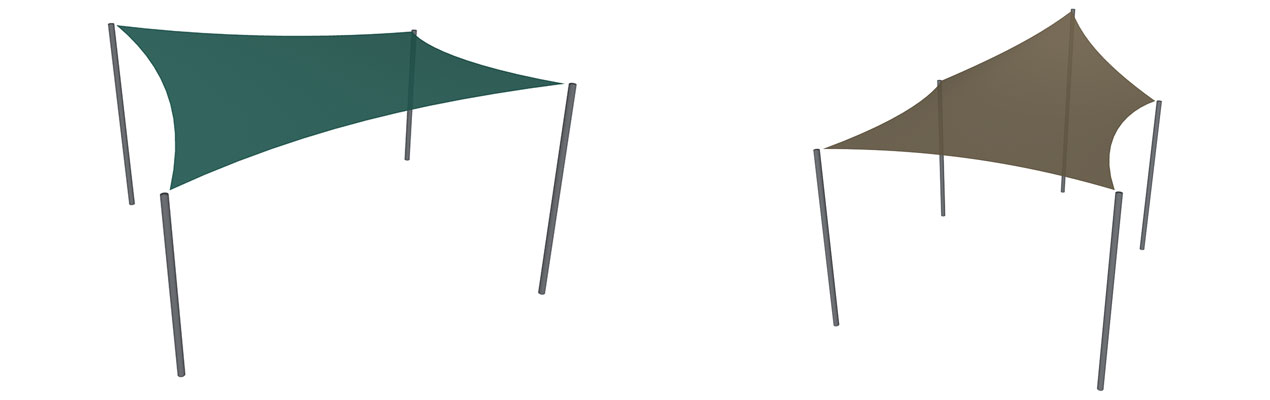
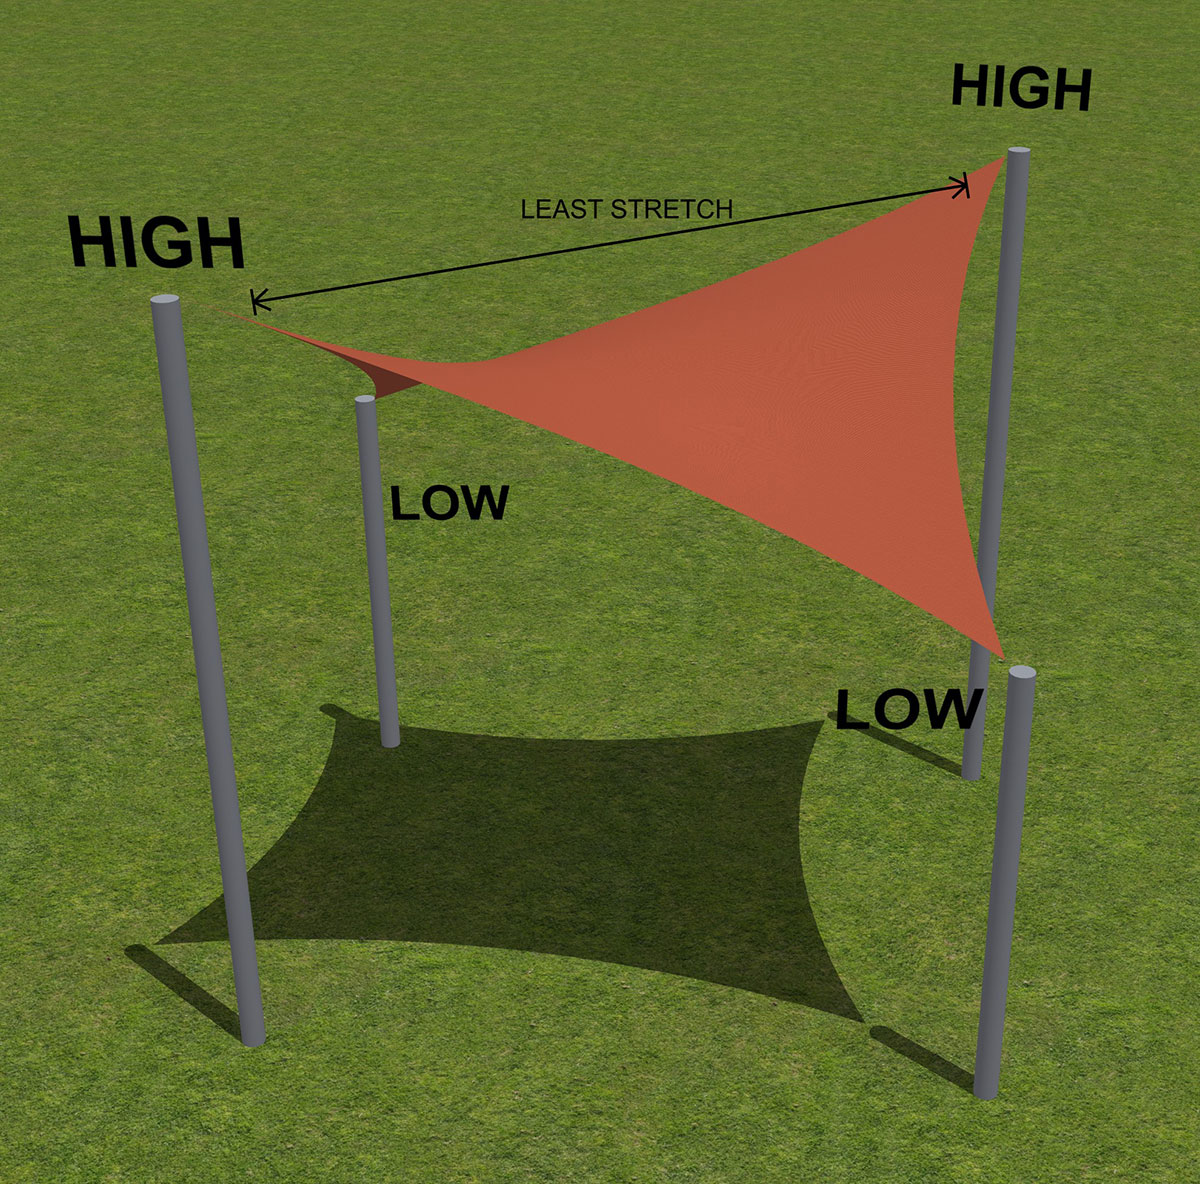
There are multiple ways to rig a sail shade, depending on the look, effect, and space requirements. How you want to create your custom shade sail is up to you, your client, and an experienced engineer.
They are made with a mesh outdoor fabric, most often with HDPE (High-Density Polyethylene).
Shade sail material is made of High-Density Polyethylene (HDPE) mesh. The fabrics are elastic and stronger under tension, which prevents wrinkling. They come in widths up to 12 feet, which reduces the number of panels needed for a shade sail.
Shade sails can cover larger areas at a fraction of the time and cost of other shade canopy structures. They offer effective protection from the sun in outdoor areas that get a lot of sun. Many fabricators and business owners prefer them for their modern, streamlined look and versatility in design.
No, shade sail fabrics are not waterproof. Water can mist through as it is a knitted shade cloth specifically designed for sun protection. This also makes it very breathable to allow airflow. Because they're made from a flexible mesh fabric, shade sails block UV rays but rain and water will pass through.
Shade sails can be cleaned with mild detergent and water or a cleaner specially formulated for use with shade sails. Lay the shade sail flat on a smooth surface then clean with your chosen cleaning solution and a soft scrub brush. Rinse thoroughly with a water hose.
Avoid the use of bleach, or other industrial chemicals containing sulphur and/or halogens (chlorine bromine), which can compromise the UV stabilizers within the shade sail fabric.
With a few exceptions, you’ll just need a heavy-duty sewing machine and all the proper shade sail hardware. We recommend you consult an experienced engineer or local contractor for questions on mounting, tension limitations, installing support poles and attachment points, etc
Due to their material, they are not heat sealable.
Yes, you can use Soltis Horizon 86 or Soltis Perform 92 for retractable awnings.
It is constructed to block up to 95% of harmful UV rays.
Most fabricators prefer stainless steel for its lasting strength and resistance to rust.
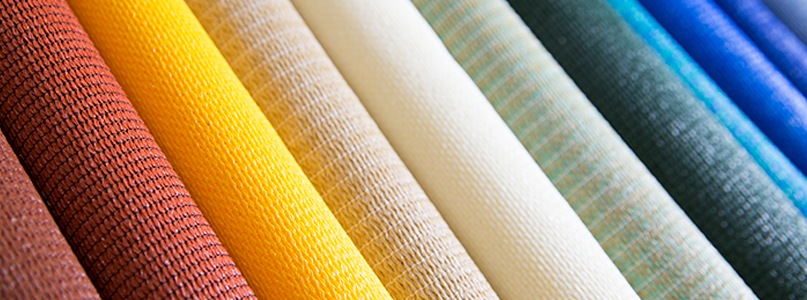
While conventional awning fabrics like Sunbrella®acrylic can be used to build a shade sail, most shade sails are built using a specialized mesh material. These fabrics are specifically designed for building shade sails and have several advantages over conventional awning fabrics:
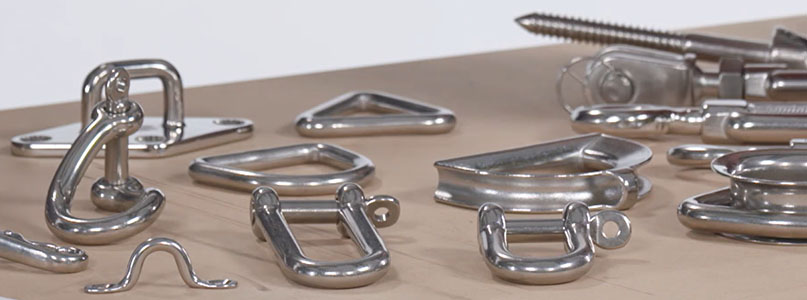
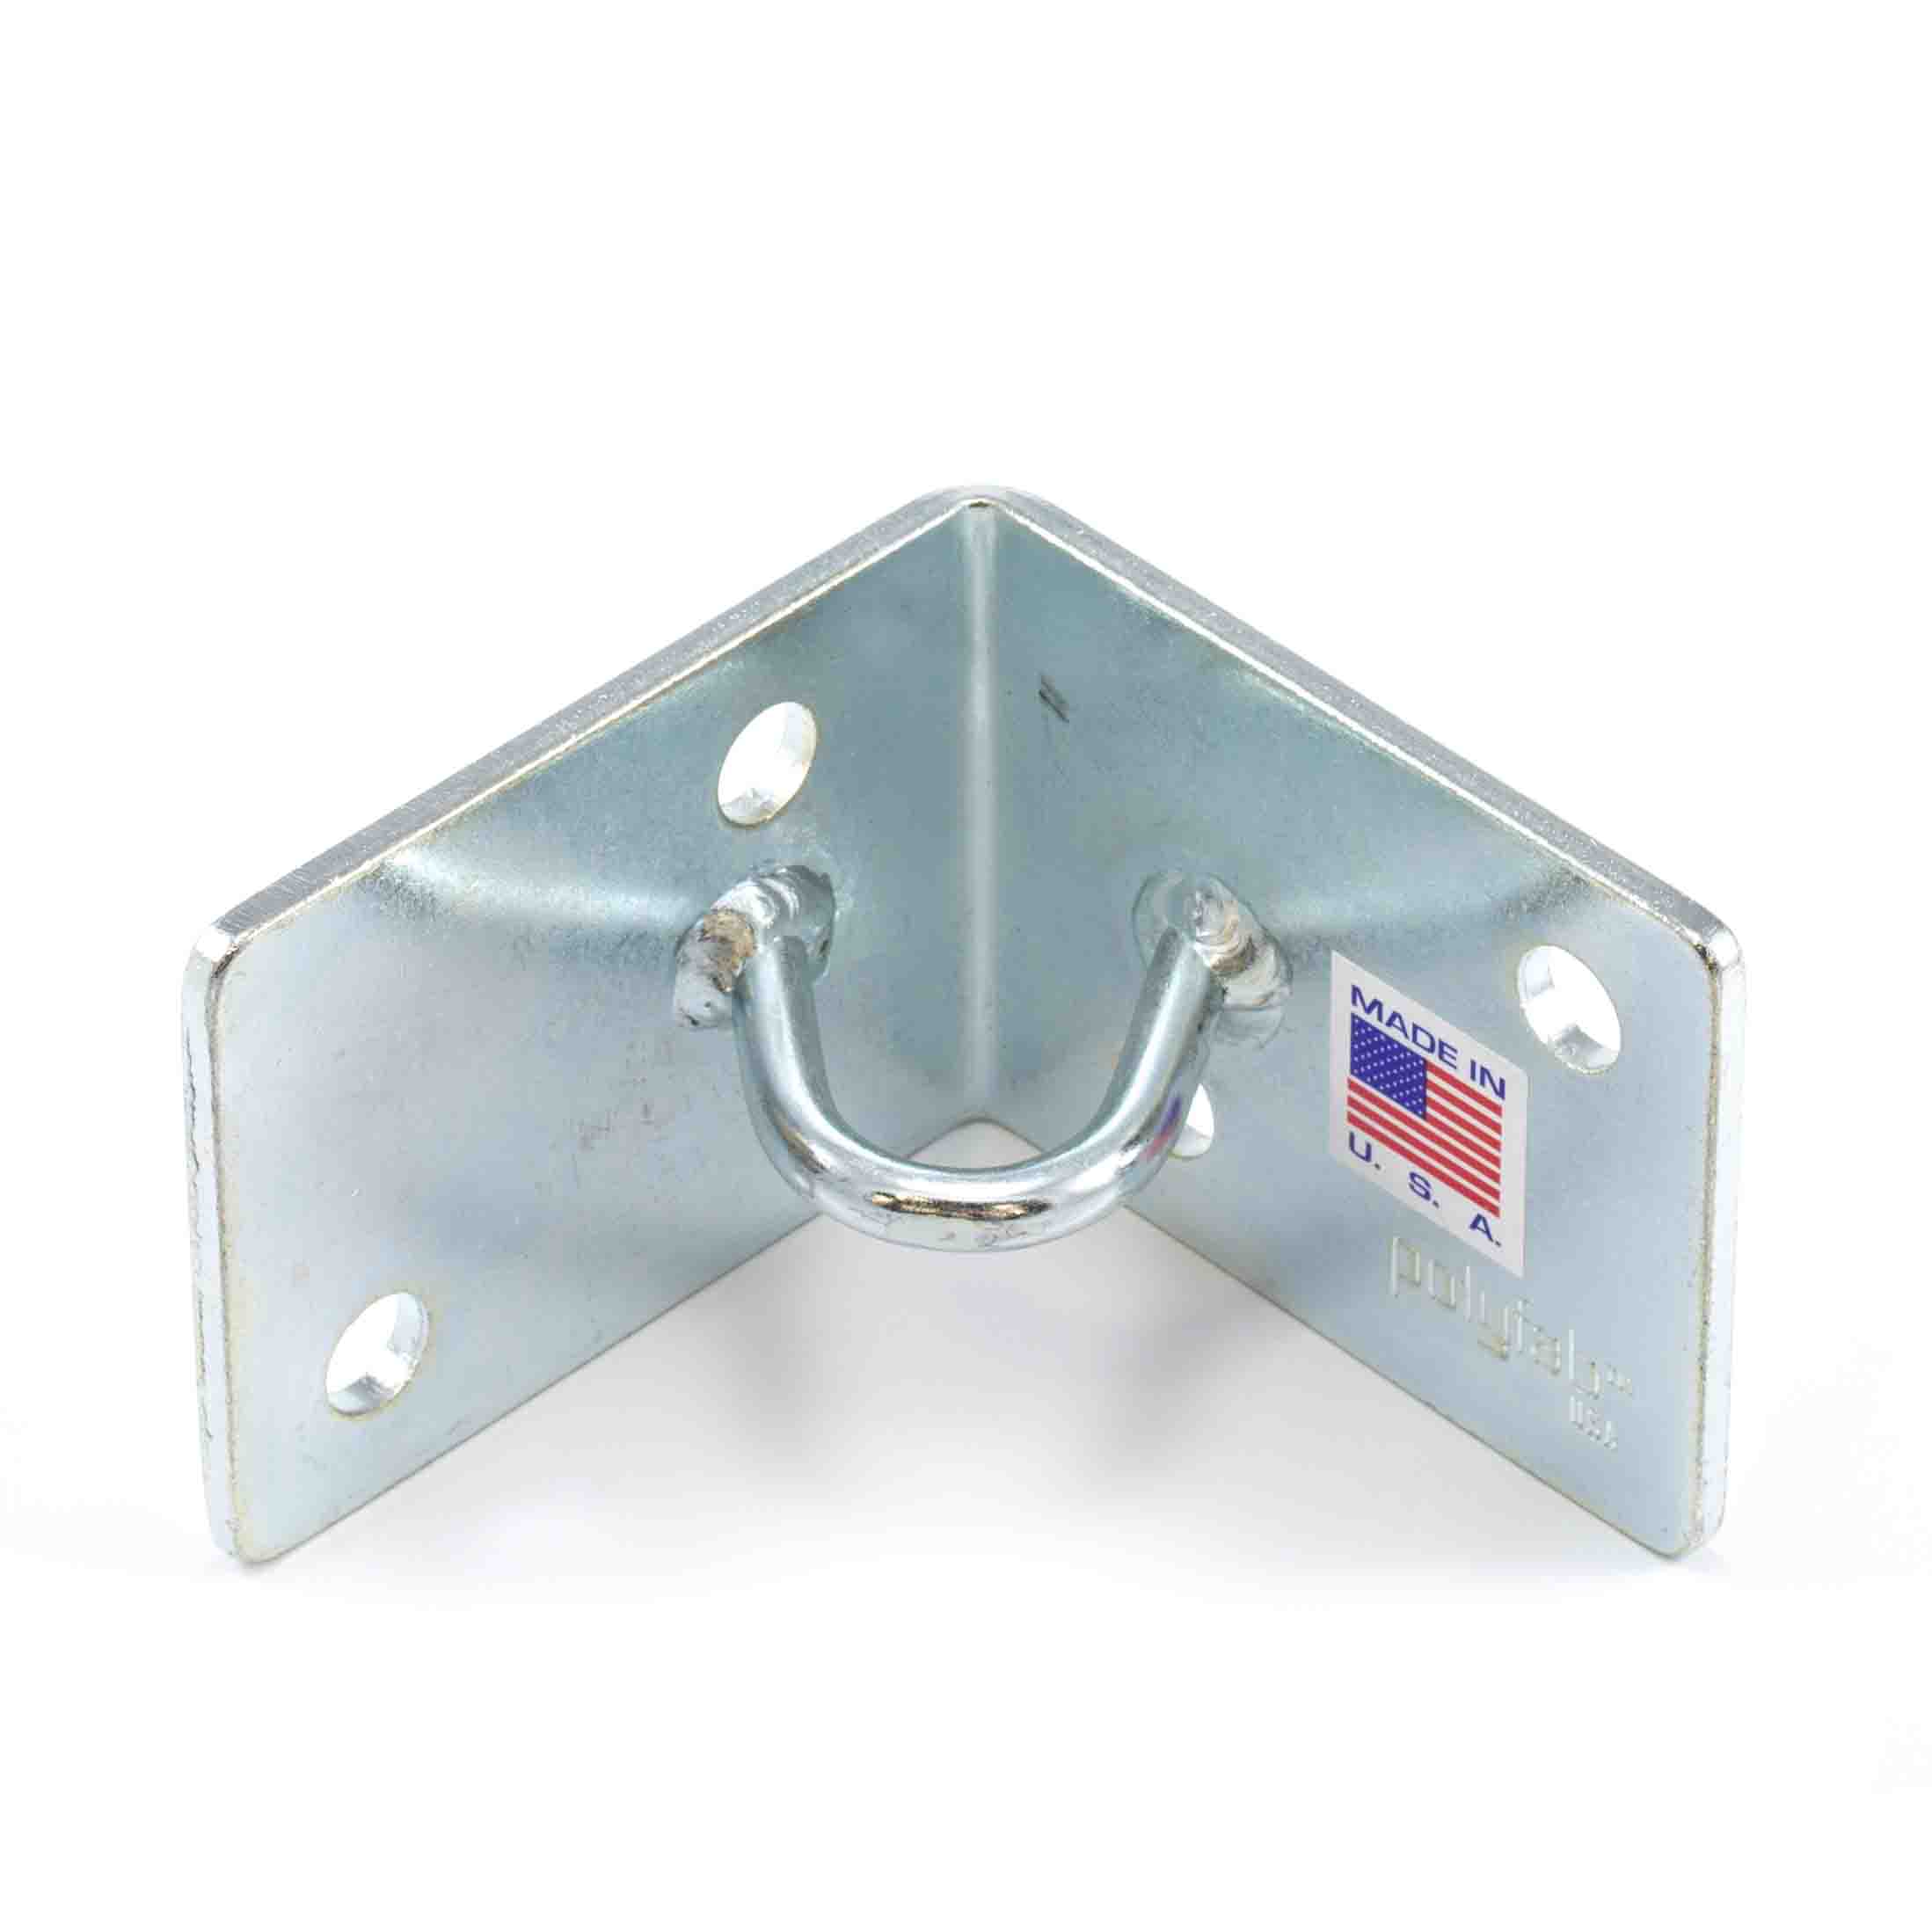
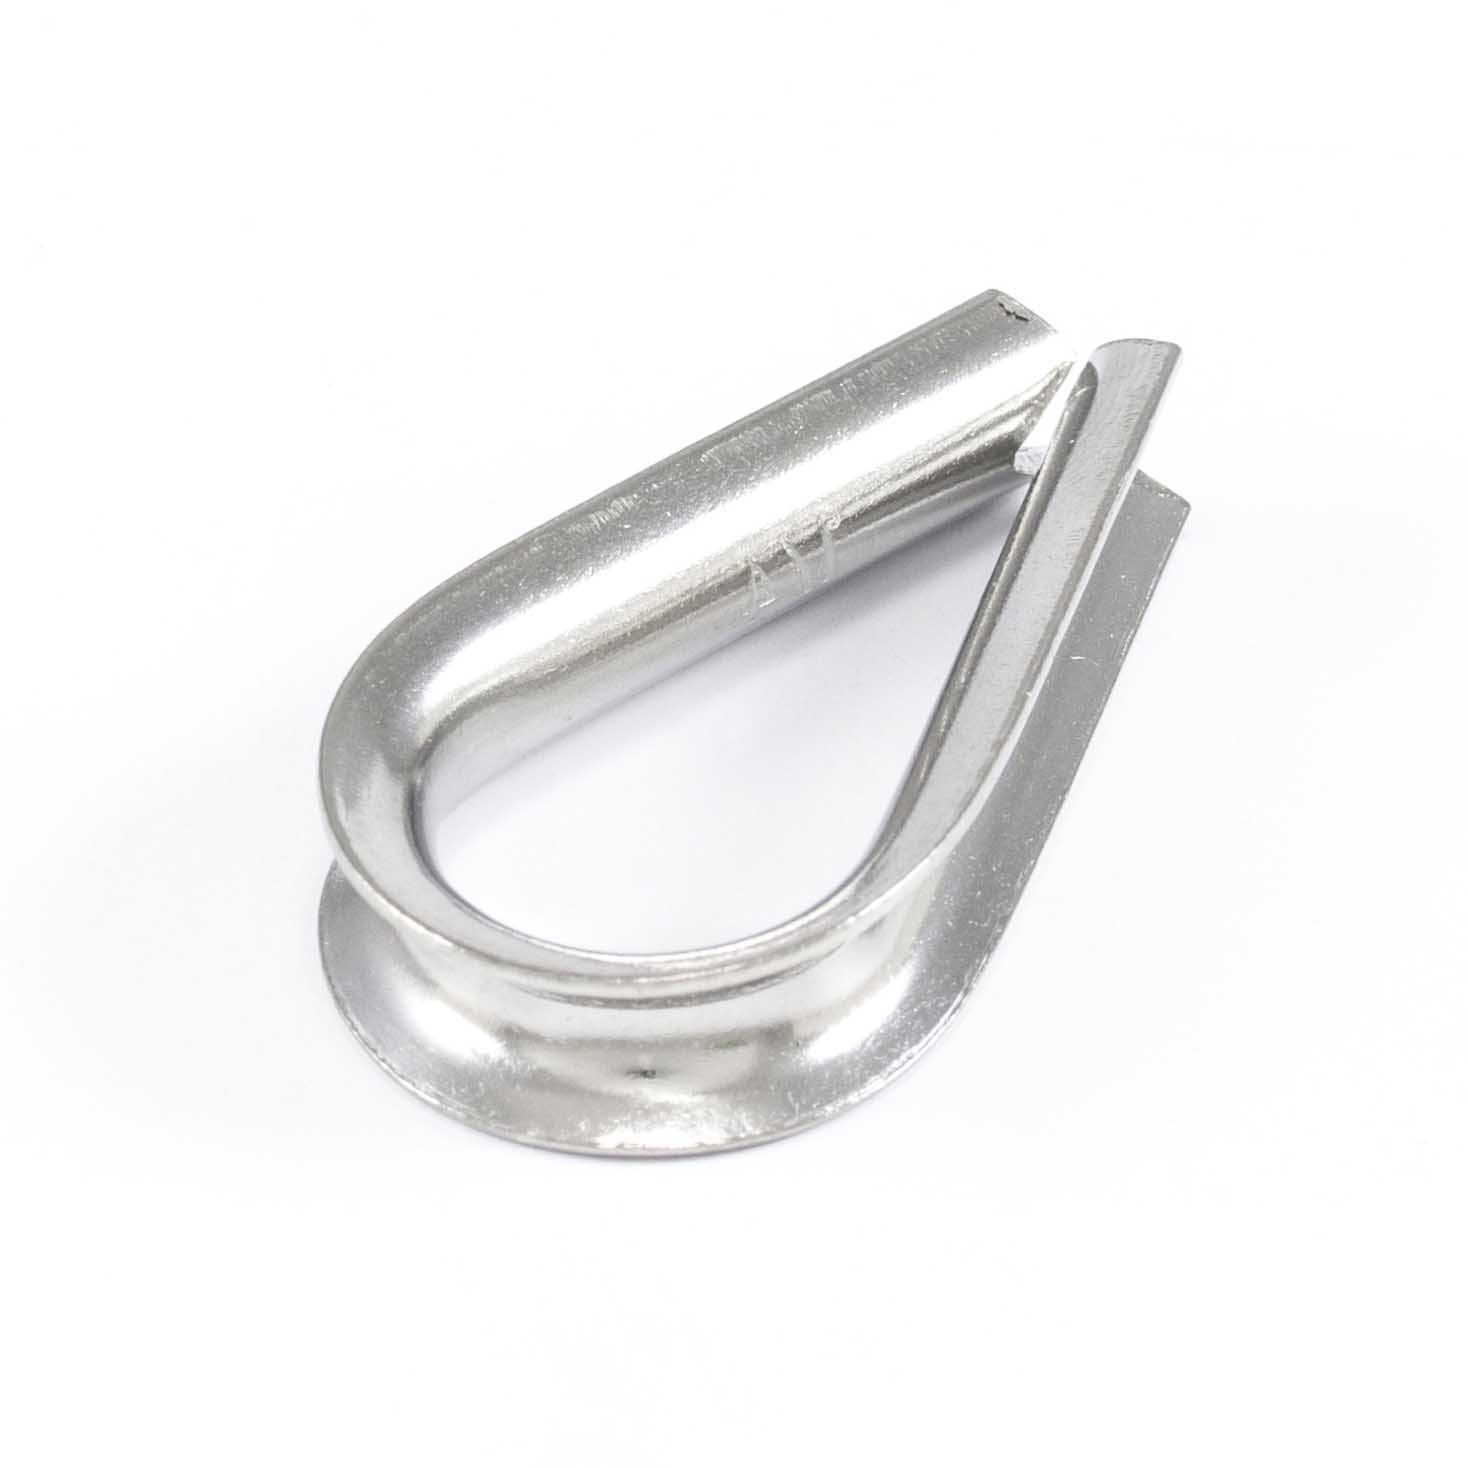
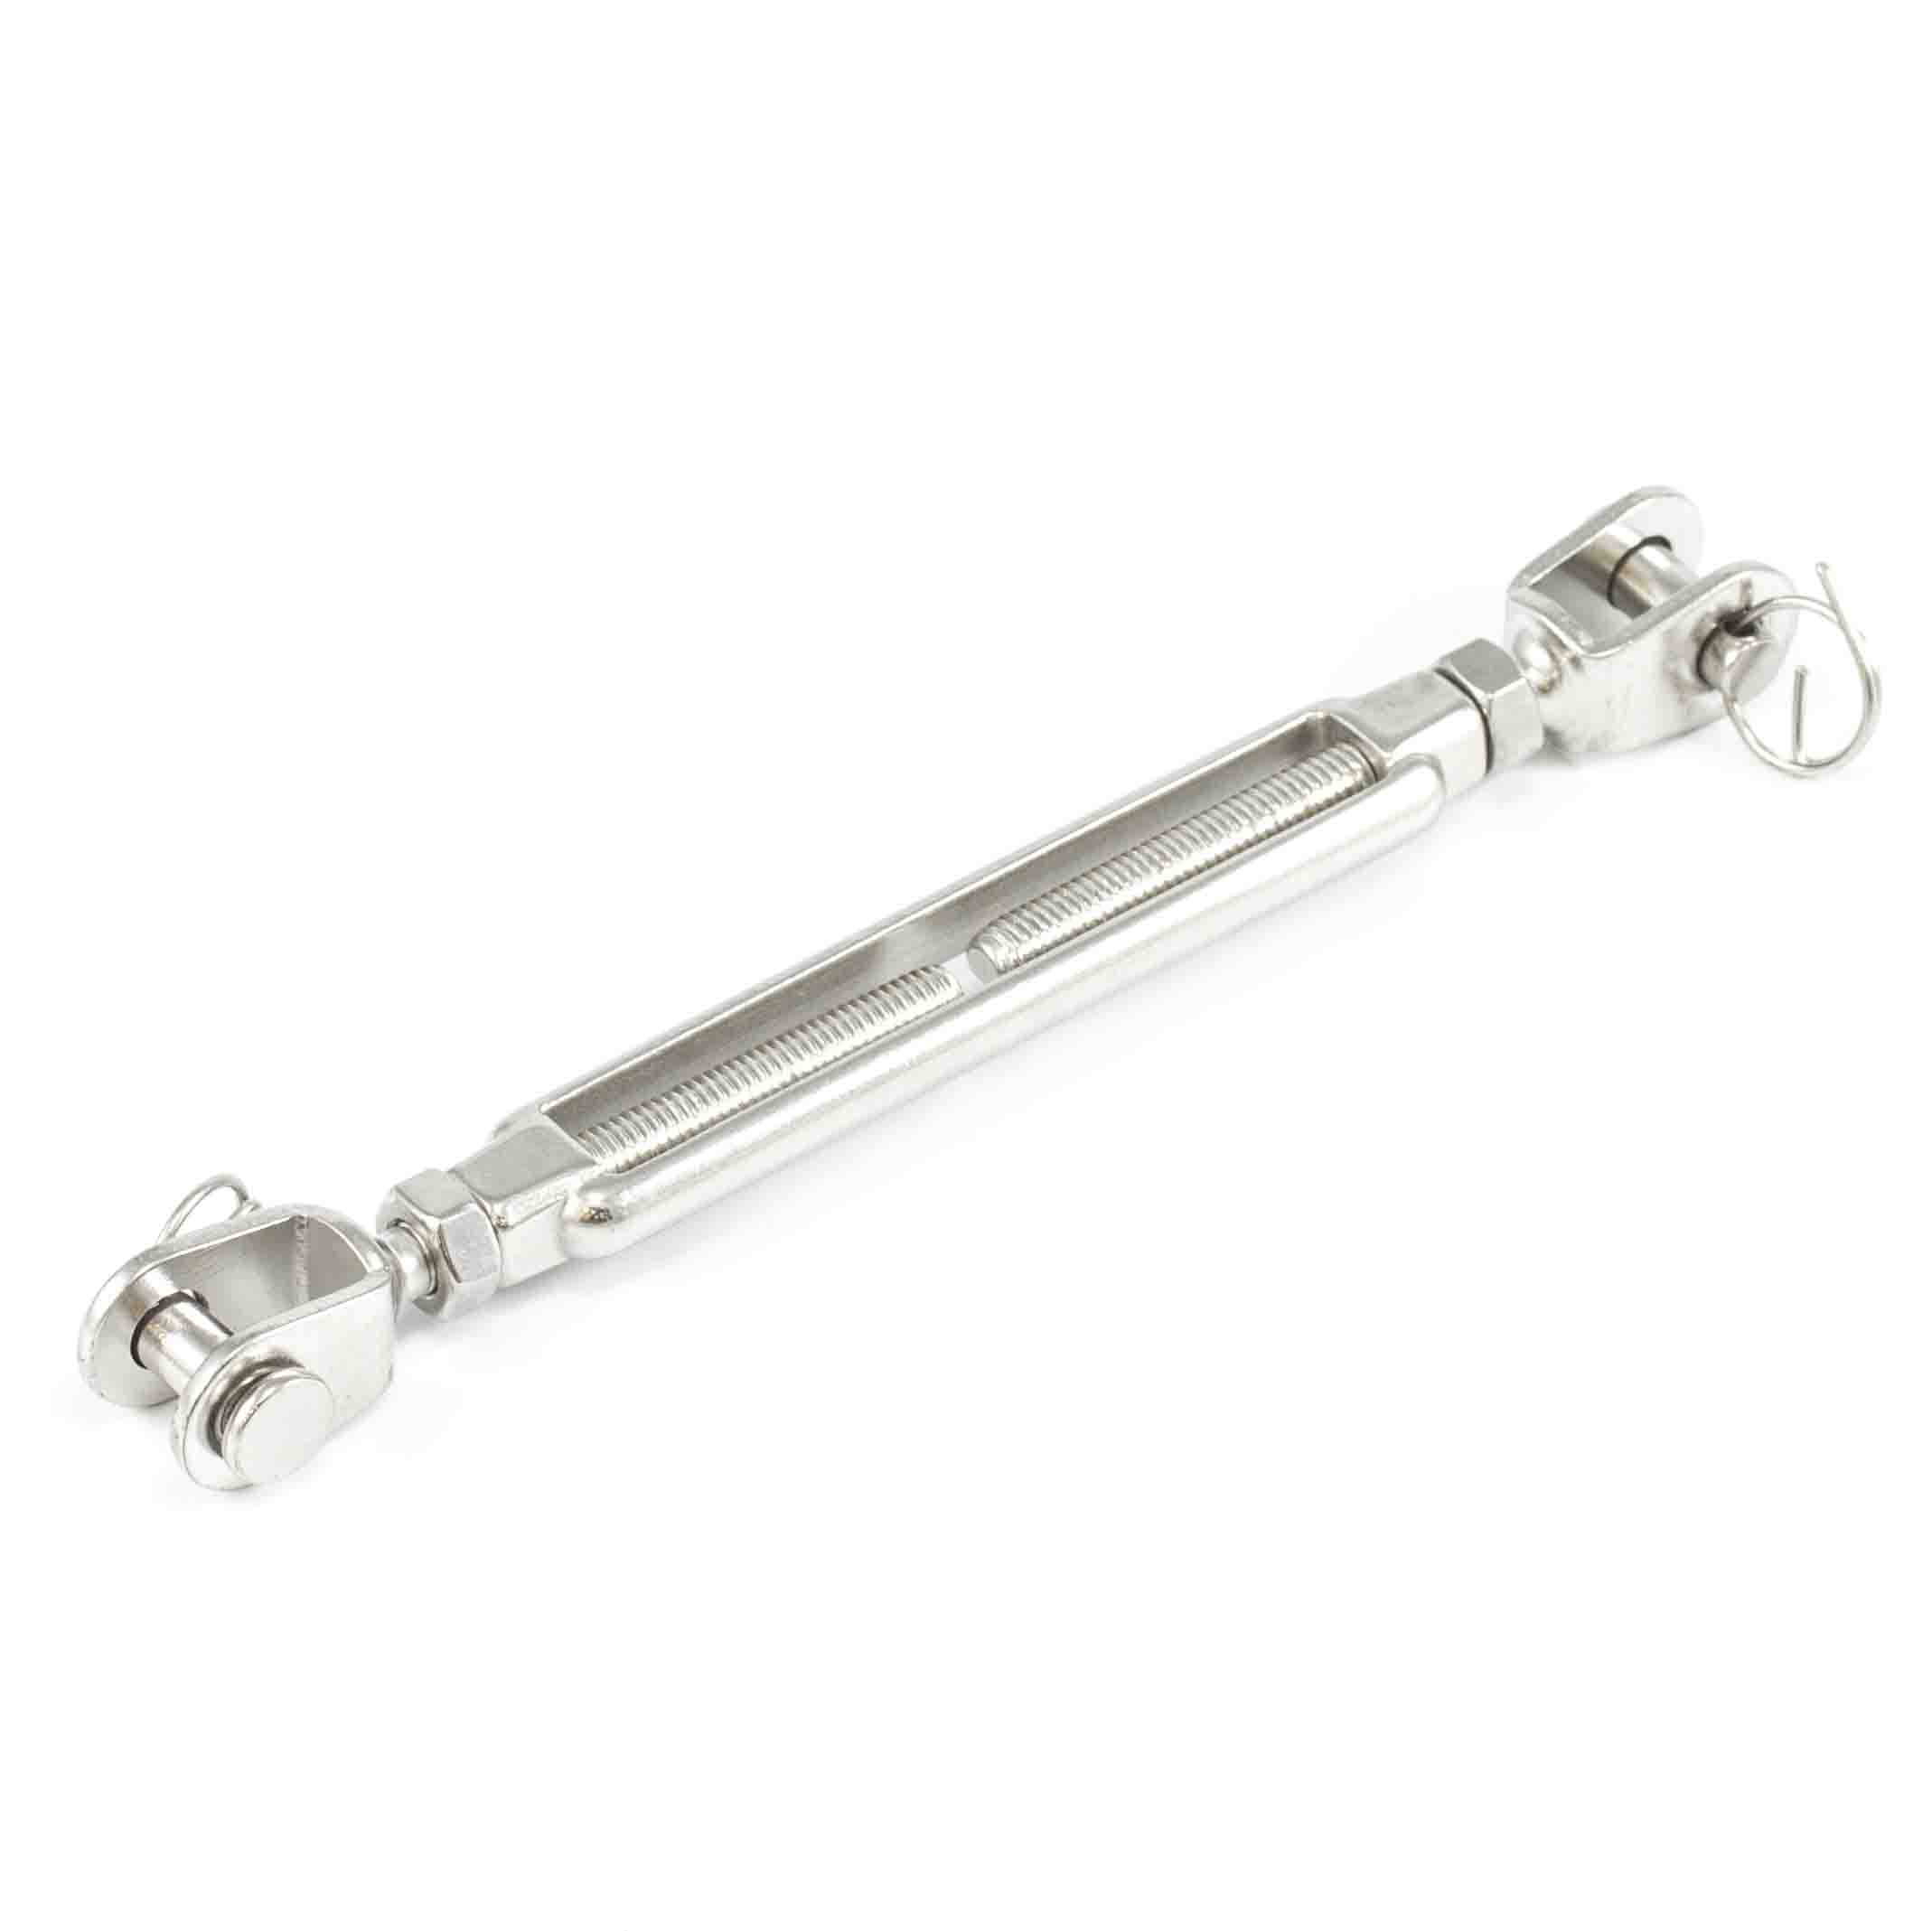
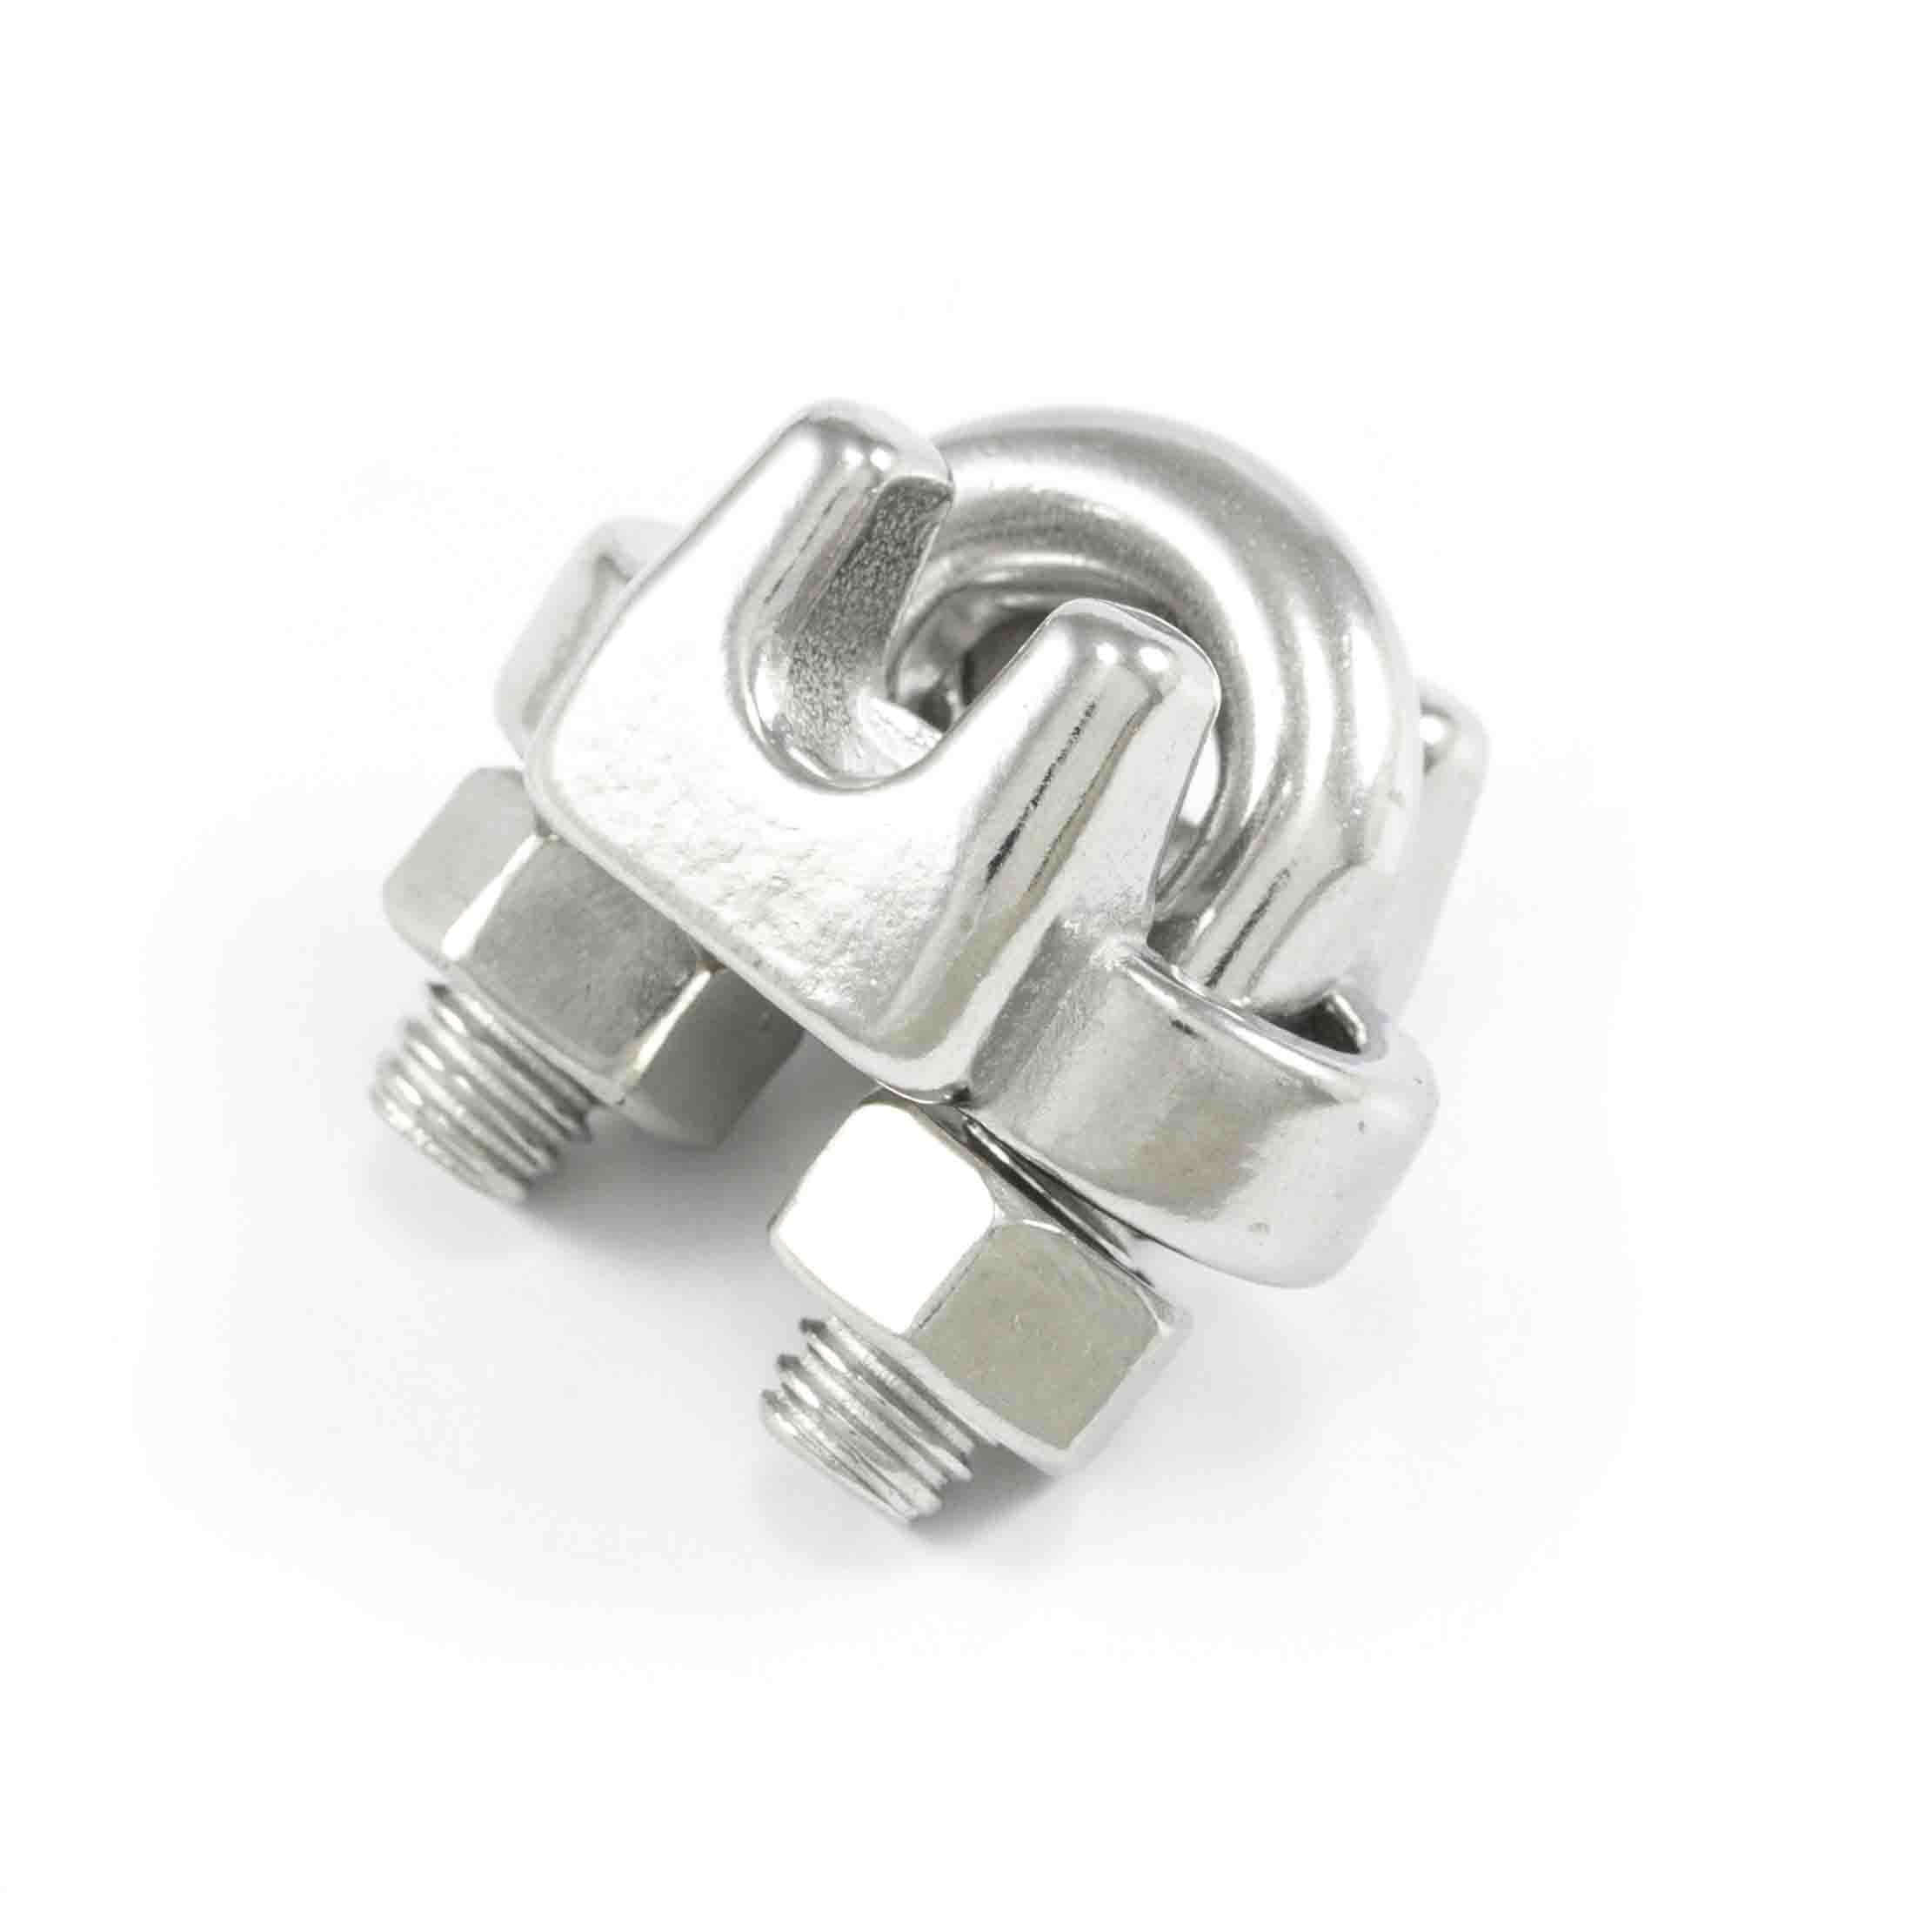
While selecting the right fabric is key, the shade sail hardware is just as important. The fittings must be positioned correctly to withstand tension and severe weather. Since each part provides an important link, care should be taken when selecting and installing your shade sail hardware.
There are two choices of hardware for installing shade sails: galvanized or stainless steel. Most fabricators prefer to use stainless due to its long-lasting properties.

Shade sails are designed to be durable and withstand various weather conditions and with proper maintenance you can ensure their longevity and continued performance.
By following these maintenance practices, you can extend the lifespan of your shade sails and ensure that they continue to provide the desired shade and protection for years to come. Proper care will not only maintain their aesthetic appeal but also maximize your investment.
When we talk about fittings belonging to the same “system,” this represents which parts are compatible with each other. Systems come in 6mm, 8mm, 10mm, and 12mm sizes. For example, a 6mm thimble would pair with 6mm wire rope. Simple as that.
We would like to thank all of the fabricators who contributed to this article for sharing information for the good of the industry. See additional resources below.
Happy shading!
The purpose of this guide is to give fabricators who are not familiar with building shade sails some background information, so they can decide if this is a market segment they want to expand into.
This guide should not be considered as the sole source of information on shade sails and should not be considered as advice or instructions on how to build shade sails. This guide is strictly informational and relays how some fabricators may build shade sails.
All shade sails footings and attachment points should be designed by a certified engineer that has experience in calculating shade sail loads.
Please reach out to your local customer care team for more guidance.