


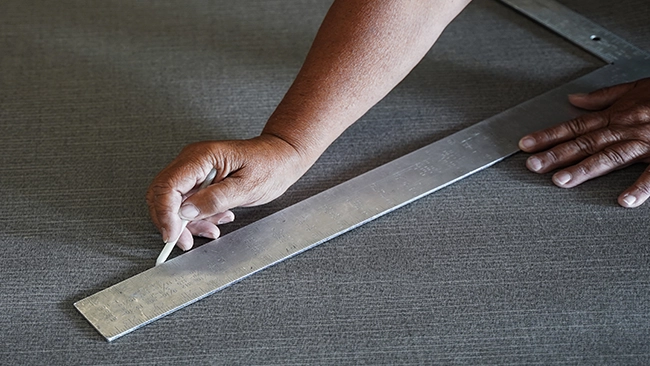
When working with dark or patterned fabrics, a white marking pencil is a go-to tool for layout lines, cut guides, and stitch references. But to get a consistent, visible mark without damaging the material, a few simple handling tips make all the difference.
Best Practices for Clear, Clean Marking
- Moisten the tip slightly: A light touch of water helps soften the pigment so the mark shows more clearly on tightly woven or coated fabrics.
- Sharpen with care: Use a knife or razor instead of a standard pencil sharpener to prevent breakage.
- Apply light pressure: Pressing too hard can score or distort the surface of delicate materials.
- Test before marking: Always make a test mark on a scrap piece to ensure the line will brush or wash off cleanly.
- Protect the tip: Keep the pencil capped or wrapped to prevent drying or crumbling, and store in a cool, dry place.
A Note on Heat
Some informal tips suggest warming the pencil tip with a lighter to soften the pencil material. However, this practice isn’t recommended. It can over-melt or burn the core, produce fumes, or stain heat-sensitive fabrics. Moistening the tip or switching to a softer marking medium—such as tailor’s chalk or soapstone—is a safer way to get a bolder line.
Simple Care, Better Results
With just a few mindful steps, your fabric marking pencils will last longer and perform more reliably, leaving precise, removable lines every time. Shop Trivantage for fabrication essentials like these today!