
Close

-
ShopFabricHardwareTrim & CordClean, Protect, Adhere
-
DealsClearanceTrivantage Plus Member Discounts
-
New
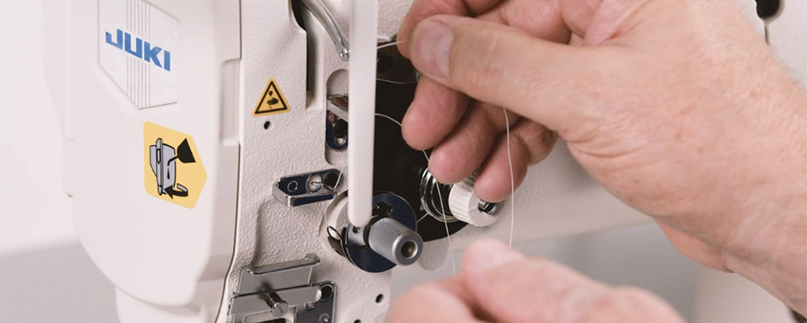
An image of Hands using professional industrial sewing machine for upholstery.
Whether you’re sewing upholstery fabric or working with marine canvas or vinyl, the thick fabrics require a unique and flexible skillset, as well as a slew of specific tools. With over 9,000 products available and nationwide distribution, Trivantage has everything upholsterers and canvas workers need, all in one place. Still, we realize that having what you need to do a project doesn’t cover everything you need to know to do it well.
That’s why we’ve compiled a list of both common and lesser known sewing tips for seasoned upholsterers and beginners alike. Whether you’re new to upholstering, or you routinely design and craft bimini tops, and reupholster ottomans, you’ll find plenty here that’s useful.
For additional video guidance, check out our full Sewing Machine Series featuring key tips & tricks in partnership with Bill’s Sewing Machine Company.
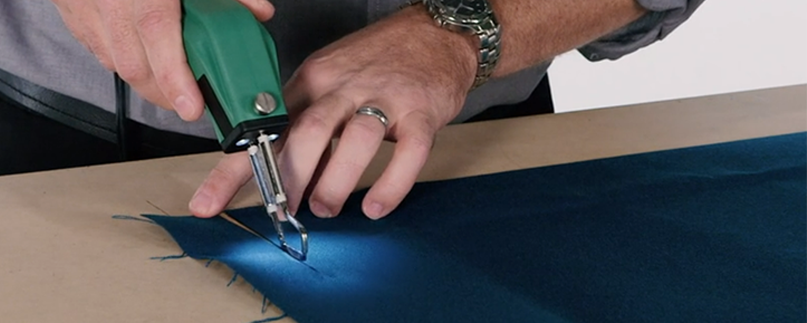
What tools do I need for sewing heavy-duty fabrics (vinyl, canvas, upholstery)?
Use heavy-duty or industrial sewing machines, ideally with a walking foot or long-arm design (18–24″ throat space) for stability and layering control. Choose bonded, UV‑resistant full‑weight thread like polyester (for outdoors) or nylon (for indoor work) depending on exposure.
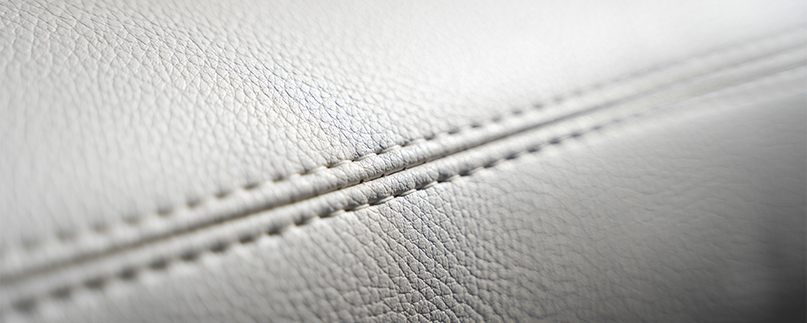
How can I reduce puckering when sewing thick fabrics?
Lower thread tension, use longer stitch length (6–10 mm), utilize bonded threads and ensure layers feed evenly (a walking foot helps).
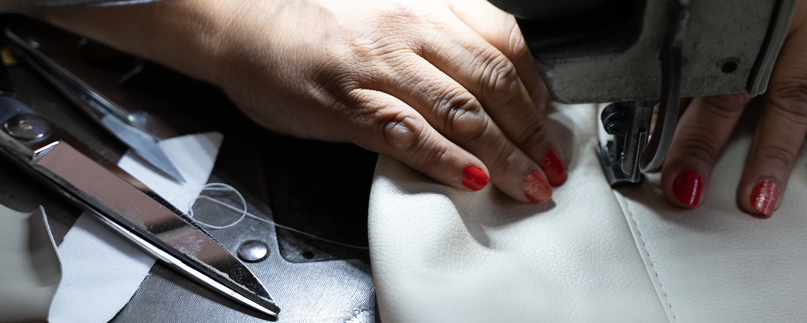
Any tips for seams, hems, and folding bulky materials?
Mark folds, use basting tape or Seamstick to hold folds, sew through tape only if waterproofing is required, and plan for 1–2% shrink/puckering allowance.
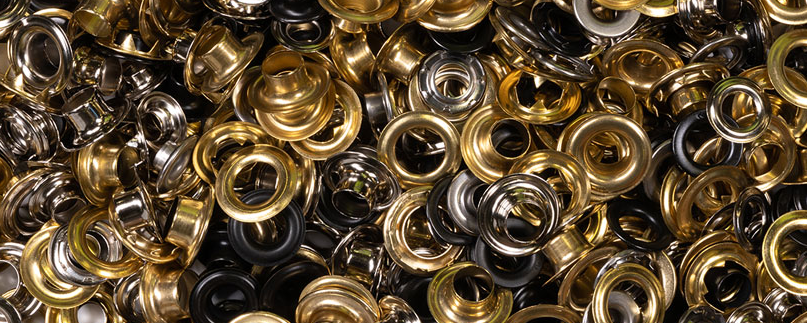
What about sewing while working with fasteners like grommets and binding?
For small or standard grommets, use three layers of fabric; for stronger fasteners or durable projects, use four layers. Always unroll enough binding to avoid tangling and keep binding off obstructive surface.

The thread you choose is as vital as the fabric itself and plays a significant role in the project's durability, appearance, and overall performance. By understanding the characteristics of different threads and their compatibility with various fabrics, you can ensure that your sewing work stands the test of time and meets your project's specific requirements.
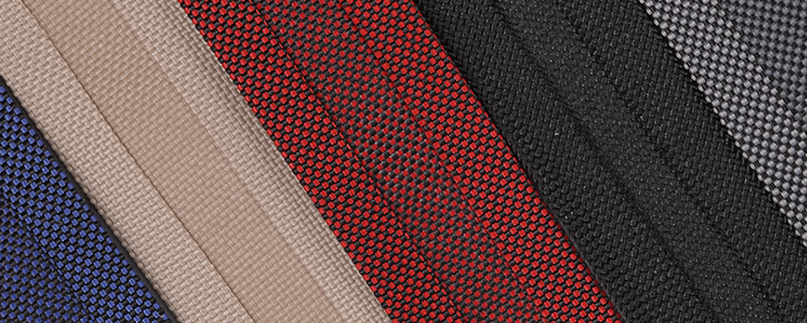
Different applications require different fabrics, just like certain materials need special tools in order to fabricate a high-quality product. Learn more about heavy vinyl fabric, double rub ratings, and recycling excess fabric below.
From a Singer heavy duty sewing machine to a serger, all sewing machines perform at their best when regularly maintained and cleaned. What does it mean to clean and maintain your machine regularly? Here are some standard maintenance and cleaning tips that apply to all sewing machine types:
So there you have it: A treasure trove of advice that should make sewing upholstery and working with heavy fabric and canvas easier and more predictable. If you’d like more tips and tricks, check out the many tutorials and explainers in our Video Library today.
The purpose of this guide is to give fabricators some general guidelines and product information. Read all our Product Guides.
This guide should not be considered as the sole source of information on sewing. This guide is strictly informational.
Please reach out to your local customer care team for more guidance.


